
The first you need open a browser and enter keyword: "struts2 plugin for netbeans", and have list results same below.
We are click the first link to go website or click here to go direct website.
You can see photo below.

Ok! This here we can see button "Download" on tab Netbeans 7.4. and click this button to download file zip.

When you download successful, you can extract file same photo below.

And here files we are extract

Next step you open your IDE Netbeans (this tutorial i use version 8.0.2)
And choice on menu: Tools > Plugins

when you click button Plugins will show dialog same photo below, and chocie: Downloaded tab
and click button Add Plugins...

This step, you open folder contain files we are extract in step above.
And select three files same photo below and click button Open

Result and click button Install

And you can do something same with photos below

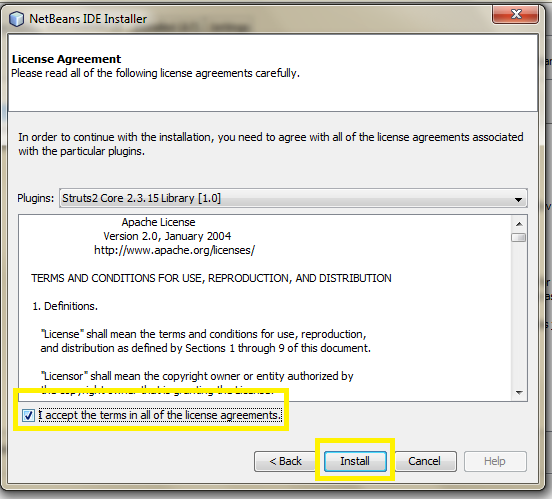

 In finally step Netbeans will request Restart IDE, therefore you click button Finish to complete the installation process
When reopen IDE will window Netbeans updater and we wait for update.

OK, therefore we complete the installation process, next step i will create a example to demo.
Step 1: Click File menu > Choice New Project

Step 2: Choice Java Web project and choice Web Application, click button Next

Step 3: Enter Project Name and click button Next

and click button Next

Step 5: Select Struts2 framework and netbeans recommended on configuration tab checkbox Create example page
and finally click button Finish

This here is structure of project struts2 when use netbeans.

We can test this project by click right mouse on project and choice Run to start server.

Waiting to see fruition :)


Ending finished this tutorial, when you try do same and have some errors you can comment, i will reply coming soon!
Thank for view and cheer!


